Bunnys Cute Patterns: A Versatile Digital Paper Set for Creative Projects
Digital paper sets can save hours of design time when you know how to use them well. Bunnys Cute Patterns offers a collection of repeatable, high-resolution patterns that work across greeting cards, gift wrapping, party accessories, invitations, gift tags, decorations, wallpaper, and many other projects. But like any creative resource, getting the most out of it requires understanding a few practical details that are easy to overlook.
Many people download digital paper sets and immediately start using them, only to run into issues with resolution, scaling, or file compatibility later. These small mistakes can turn a quick win into a frustrating rework. This article walks through the most common misunderstandings so you can avoid them and make your crafting, designing, or publishing workflow smoother from the start.
Understanding What You Actually Get
Before opening any files, it helps to know exactly what the set includes and what it does not. Bunnys Cute Patterns comes with an EPS file, an AI file, and a JPG file. Each serves a different purpose. The EPS and AI files are vector-based, meaning you can scale them infinitely without losing quality. The JPG is a high-resolution raster image at 1000×1000 pixels and 300 dpi, which is excellent for most print and digital uses.
A common mistake is assuming all files are interchangeable. They are not. If you try to scale a JPG far beyond its original size, you will see pixelation. The vector files, on the other hand, can be resized to fit a billboard or a business card with no loss. Check which file type matches your intended use before you start working. If you plan to adjust colors or scale dramatically, the EPS or AI file is your best friend. If you just need a ready-to-use pattern at a standard size, the JPG is perfectly fine.
Resolution and Dimension Misunderstandings
One of the most frequent errors people make when using digital paper is ignoring the resolution and dimension requirements of their project. Bunnys Cute Patterns is delivered at 1000×1000 pixels with 300 dpi. That resolution is excellent for many craft and design applications, but it is not infinitely large.
If you are creating a large banner or a wallpaper panel, a single tile at 1000 pixels may not cover the entire area without repeating. Because the pattern is repeatable by design, you can tile it seamlessly. But you need to understand how repetition works in your software. Some programs handle tiling automatically; others require you to set the pattern fill manually. Test this on a small scale before committing to a large print run. A quick test print or on-screen preview will save you from discovering awkward seams or scaling issues after you have already cut or printed your project.
Another overlooked detail is color accuracy. The JPG file is RGB, which is ideal for digital screens. If you are printing, especially professionally, you may need to convert to CMYK. The EPS and AI files let you adjust color modes more easily than a flattened JPG. If color precision matters for your brand or project, work from the vector files and convert before final export.
Repeatability and Seamless Tiling
The phrase “repeatable pattern” can be interpreted in different ways. In this set, the pattern is designed so that when you tile it edge to edge, the transitions are smooth and continuous. This is a huge time saver compared to trying to create seamless patterns from scratch.
However, a common mistake is assuming that “repeatable” means it works automatically in every software environment. Some design tools require you to define a pattern swatch, while others let you apply an image as a fill and then adjust tiling manually. If you paste the JPG directly into a layout and duplicate it, you may see visible edges if the alignment is off. Take a moment to learn how your specific software handles pattern fills. In Adobe Illustrator, for example, you can drag the JPG into the Swatches panel to create a pattern swatch. In Photoshop, you can use the Pattern Stamp tool or define a pattern from the Edit menu. In Canva or similar online tools, you may need to upload the image and use the repeat function if available.
Testing tiling on a small, low-stakes project first is always wise. Print a small section, or preview it digitally at full size. If you notice any misalignment, adjust the placement before proceeding. This simple check prevents waste and keeps your projects looking polished.
Color Editing: What You Can and Cannot Change
The product note states that colour can be changed. This is a valuable feature, but it comes with caveats depending on which file you use. The EPS and AI files are vector-based, so recoloring individual elements is straightforward. You can select a shape, change its fill color, and the entire pattern updates. This is ideal if you need to match a specific brand palette or coordinate with other design elements.
The JPG file, however, is a flattened raster image. Changing colors in a JPG is more limited. You can apply hue adjustments, color overlays, or filters in photo editing software, but you cannot isolate individual elements within the pattern. If you need precise color control, start with the vector files. If you only need a quick color shift and the JPG works for your project, a simple hue adjustment in Photoshop or a similar tool may be enough.
A mistake many beginners make is trying to edit the JPG as if it were a layered file. If you find yourself struggling to change a specific color in the pattern, switch to the AI or EPS file instead. That will save time and give you much better results.
Preview Images vs. Actual Product
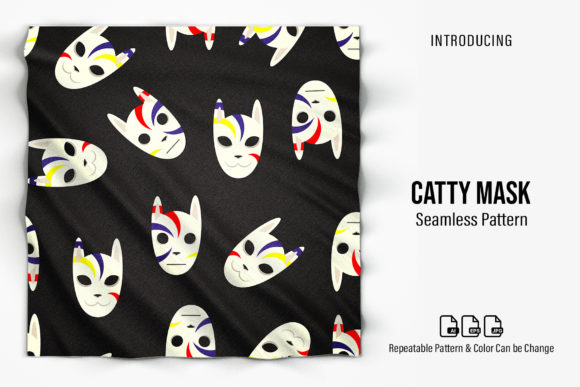
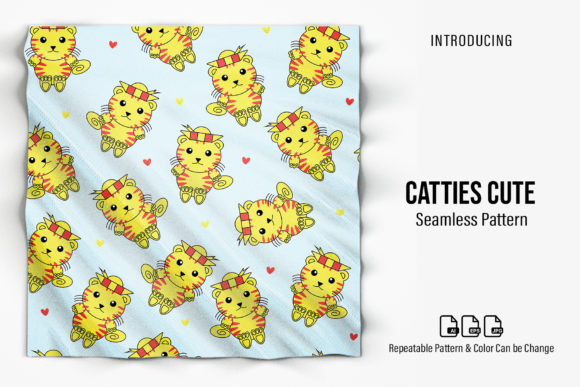
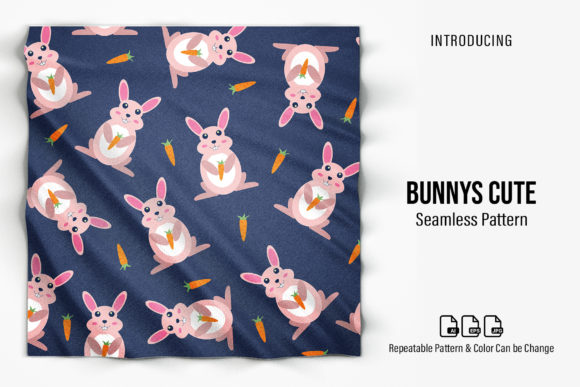
The product description clearly states that the preview image is for display example only and that mockups are not included. This is a standard practice, but it is easy to overlook, especially when you see a beautifully styled scene with cards, gifts, or party decorations. Some buyers assume that the mockup elements come with the pattern. They do not.
Understanding this distinction helps you plan your project accurately. You are purchasing the pattern files themselves, not the staged display. If you want to create a mockup for your own portfolio or listing, you will need to source or create the physical or digital props separately. This is not a drawback of the set, but a clarification that prevents disappointment. Use the pattern files to create your own unique presentations, and remember that the mockup style in the preview is just an example of what is possible.
File Format Compatibility and Workflow
Not every design application supports EPS or AI files out of the box. If you are using free or web-based software, the JPG may be your only option. Check your software’s compatibility before purchasing or downloading. If you work primarily in Canva, Figma, or a mobile app, the EPS and AI files may not open directly. In that case, the JPG is still usable, but you lose the ability to scale infinitely or edit colors easily.
For professionals using Adobe Creative Suite, Affinity Designer, or CorelDRAW, the EPS and AI files are ideal. They preserve vector data and give you full control. If you are unsure which file to use, start with the AI file for the most native compatibility in Adobe software. EPS is an older format but widely supported. JPG is the most universal but least flexible.
A practical tip: keep all three files organized in a folder on your computer. When you start a new project, decide which file to open based on what you need. If you need to resize dramatically or recolor, choose EPS or AI. If you need a quick placeholder or are working in a simple tool, use the JPG. This habit alone prevents many workflow headaches.
Common Misuses and Better Approaches
One mistake people make is using a single tile and stretching it to fill a large area. This distorts the pattern and makes it look unnatural. Instead, use the repeatable nature of the pattern. In most design software, you can set the image as a pattern fill and adjust the scale without stretching the original tile. This preserves the proportions and keeps the design crisp.
Another error is printing at too low a resolution. Even though the file is 300 dpi, if you print it at a size far larger than 1000 pixels, the effective dpi drops. For a 1000×1000 pixel image at 300 dpi, the maximum print size is about 3.3×3.3 inches. If you need a larger print, scale the vector file or tile the pattern. Always check your print settings and preview the output before printing final copies.
Some users also forget to check whether the pattern orientation works for their project. The pattern is square by default. If your project requires a vertical or horizontal layout, consider rotating the pattern or adjusting your canvas orientation. Rotating a pattern fill is usually a simple setting in your design software.
Practical Advice Before You Start
Before you begin any project with Bunnys Cute Patterns, take a few minutes to plan. Open the files and preview them at actual size. Decide which file format matches your software and your end goal. If you need to edit colors, open the vector file. If you need a quick test, use the JPG. Always test tiling on a small scale first.
Keep a copy of the original files untouched, and work from duplicates. This way, if you make a mistake or want to try a different approach, you always have the originals to fall back on. This is a simple habit that professionals use to avoid losing work.
For print projects, request a proof from your printer if possible. Check that the colors appear as expected and that the pattern repeats cleanly. For digital projects, export at the correct resolution for the platform. Social media graphics may need only 72 dpi, while print-ready files should stay at 300 dpi.
Finally, remember that this set is designed for versatility. Greeting cards, gift wrapping, party accessories, invitations, gift tags, decorations, and wallpaper are all realistic uses. The pattern can also work for fabric printing, scrapbooking, digital backgrounds, and product packaging. The more you experiment with scaling, color editing, and tiling, the more value you will get from a single set.
By paying attention to file formats, resolution limits, repeatability, color editing options, and mockup expectations, you avoid the most common frustrations. That lets you focus on the creative part, which is where the real satisfaction comes from.